iOS - Push Lifecycle Module
To receive push notification registration and interaction events, a proper implementation
of the PushLifecycleModule protocol is required. Q2MobileCore will interact with your
module for various push notification events.
The PushLifecycleModule interface is used when creating a module that needs to respond
to push notifications. Q2MobileCore interacts with the module in the following cases:
- When asking for user notification categories that need to be registered by the application
- When delivering user notification registration events, example: device token success or failure
- When delivering silent user notification
- When push notification was tapped or one of its buttons
- When push notification received while the application is in the foreground
Quick Start Guide
Follow these steps to implement push notification support in your module:
Step 1: Create Your Module Class
import Q2ModuleInterface

class YourPushLifecycleModule: PushLifecycleModule {

    var moduleDelegate: ModuleDelegate?
    var moduleDataSource: ModuleDataSource?

    // Required for explicit module targeting (25.7.0+)
    public static var sender: PushSender? {
        return .moduleSender
    }

    // Handle notification categories
    public func getNotificationCategories() -> Set<UNNotificationCategory>? {
        return nil // Add your custom categories here
    }

    // Handle device token registration
    public func application(_ application: UIApplication,
                           didRegisterForRemoteNotificationsWithDeviceToken deviceToken: Data) {
        let token = String(deviceToken: deviceToken)
        // Send token to your backend
        print("Device token: \(token)")
    }

    // Handle registration failures
    public func application(_ application: UIApplication,
                           didFailToRegisterForRemoteNotificationsWithError error: Error) {
        print("Failed to register for notifications: \(error)")
    }

    // Handle silent notifications
    public func application(_ application: UIApplication,
                           didReceiveRemoteNotification userInfo: [AnyHashable : Any]) async -> UIBackgroundFetchResult? {
        // Process silent notification
        return .newData
    }

    // Handle notification taps
    public func userNotificationCenter(_ center: UNUserNotificationCenter,
                                     didReceive response: UNNotificationResponse) async {
        let userInfo = response.notification.request.content.userInfo
        // Handle the notification tap
    }

    // Handle foreground notifications
    public func userNotificationCenter(_ center: UNUserNotificationCenter,
                                     willPresent notification: UNNotification) async -> UNNotificationPresentationOptions? {
        return [.banner, .sound, .badge]
    }
}

extension PushSender {
    static var moduleSender: Self {
        PushSender(id: "com.q2.mobile.module.{your-unique-identifier}")
    }
}

private extension String {
    init(deviceToken: Data) {
        self = deviceToken.map { String(format: "%.2hhx", $0) }.joined()
    }
}
Step 2: Configure Module Settings
Update your settings.json to enable push notifications:
{
  "name": "your-module-name",
  "packageName": "your-package-name",
  "productName": "YourProduct",
  "className": "YourPushLifecycleModule",
  "identifier": "com.q2.mobile.module.your-identifier",
  "data": "",
  "enabled": true,
  "push": true
}
Step 3: Test Your Implementation
-
Enable push notifications in DevApp:
- Launch DevApp on device or Apple Silicon simulator
- Sign in and complete device setup
- Allow push notifications when prompted
-
Send test notification:
{
  "aps": {
    "alert": {
      "title": "Test Notification",
      "body": "Your module is working!"
    }
  }
} -
Verify module receives the notification in your implementation methods
Explicit Module Targeting (25.7.0+)
Q2MobileApp now supports explicit module targeting for push notifications, enabling multiple modules to independently process and render rich content notifications. This is the recommended approach for new implementations.
Overview
Each module must expose a unique identifier to ensure proper notification routing. When
multiple modules exist, the system uses the sender field in the notification payload
to determine which module should handle the notification.
Setup PushSender Identifier
Create a unique identifier for your module:
extension PushSender {
    static var moduleSender: Self {
        PushSender(id: "com.q2.mobile.module.{your-unique-identifier}")
    }
}
Implementation Requirements
For PushLifecycleModule implementations:
class CustomPushLifecycleModule: PushLifecycleModule {
    public static var sender: PushSender? {
        return .moduleSender
    }
    // ... other implementation
}
For Q2ModuleBase subclasses:
public class YourModuleClass: Q2ModuleBase {
    public override static var sender: PushSender? {
        return .moduleSender
    }
    // ... other implementation
}
Notification Payload Format
Include the sender key in your notification payload:
{
  "aps": {
    "alert": {
      "title": "Your Title",
      "subtitle": "Your Subtitle",
      "body": "Your Body"
    },
    "mutable-content": 1
  },
  "sender": "com.q2.mobile.module.{your-unique-identifier}"
}
Runtime Resolution
- MobileCore reads the
sendervalue from the payload - If a matching module is found, only that module handles the notification
- If no match is found or key is missing, fallback to legacy behavior
Protocol Reference
PushLifecycleModule Protocol
All methods in the PushLifecycleModule protocol are optional, allowing you to implement
only the functionality your module needs.
public protocol PushLifecycleModule: LifecycleModule, PushSenderProvider {

    // MARK: - Push Sender (Required for 25.7.0+)
    static var sender: PushSender? { get }

    // MARK: - Notification Categories
    func getNotificationCategories() -> Set<UNNotificationCategory>?

    // MARK: - Registration Events
    func application(_ application: UIApplication,
                    didRegisterForRemoteNotificationsWithDeviceToken deviceToken: Data)

    func application(_ application: UIApplication,
                    didFailToRegisterForRemoteNotificationsWithError error: Error)

    // MARK: - Notification Handling
    func application(_ application: UIApplication,
                    didReceiveRemoteNotification userInfo: [AnyHashable : Any]) async -> UIBackgroundFetchResult?

    func userNotificationCenter(_ center: UNUserNotificationCenter,
                               didReceive response: UNNotificationResponse) async

    func userNotificationCenter(_ center: UNUserNotificationCenter,
                               willPresent notification: UNNotification) async -> UNNotificationPresentationOptions?
}
Method Details
static var sender: PushSender?
- Required for 25.7.0+: Provides unique module identifier for explicit targeting
- Return: PushSender instance with your module's unique identifier
- Usage: Used by MobileCore to route notifications to correct module
getNotificationCategories() -> Set<UNNotificationCategory>?
- Purpose: Register custom notification categories with interactive actions
- Return: Set of UNNotificationCategory objects, or nil if no categories needed
- Called: During app launch when registering for notifications
application(_:didRegisterForRemoteNotificationsWithDeviceToken:)
- Purpose: Handle successful device token registration
- Parameters: Application instance and device token data
- Usage: Send device token to your backend service
application(_:didFailToRegisterForRemoteNotificationsWithError:)
- Purpose: Handle device token registration failures
- Parameters: Application instance and error details
- Usage: Log error and implement fallback behavior
application(_:didReceiveRemoteNotification:) async -> UIBackgroundFetchResult?
- Purpose: Handle silent push notifications (background app refresh)
- Parameters: Application instance and notification payload
- Return: UIBackgroundFetchResult indicating processing result
- Usage: Process data updates without user interaction
userNotificationCenter(_:didReceive:) async
- Purpose: Handle notification interactions (tap, action button press)
- Parameters: Notification center and response containing action details
- Usage: Navigate to specific screens, perform actions based on user interaction
userNotificationCenter(_:willPresent:) async -> UNNotificationPresentationOptions?
- Purpose: Configure how notification appears when app is in foreground
- Parameters: Notification center and notification object
- Return: Presentation options (banner, sound, badge) or nil for default behavior
- Usage: Customize notification display for foreground scenarios
Extension Protocols
PushServiceExtensionModule
public protocol PushServiceExtensionModule: Module, UNNotificationServiceExtension, PushSenderProvider {
    static var sender: PushSender? { get }
    // Inherits UNNotificationServiceExtension methods
}
PushContentExtensionModule
public protocol PushContentExtensionModule: Module, UIViewController, UNNotificationContentExtension, PushSenderProvider {
    static var sender: PushSender? { get }
    // Inherits UNNotificationContentExtension methods
}
Implementation
Implementing a PushLifecycleModule is straightforward—create an NSObject class
conforming to the PushLifecycleModule protocol requirements.
import Q2ModuleInterface

class CustomPushLifecycleModule: PushLifecycleModule {

    var moduleDelegate: ModuleDelegate?

    var moduleDataSource: ModuleDataSource?

    public static var sender: PushSender? {
        return .moduleSender
    }

    public func getNotificationCategories() -> Set<UNNotificationCategory>? {
        return nil // or provide set of user notification categories here.
    }

    public func application(_ application: UIApplication, didRegisterForRemoteNotificationsWithDeviceToken deviceToken: Data) {
        // provide device token to your API / SDK if required.
        let token = String(deviceToken: deviceToken)
        print(token)
    }

    public func application(_ application: UIApplication, didFailToRegisterForRemoteNotificationsWithError error: Error) {
        // inform your API / SDK device registration failed.
    }

    public func application(_ application: UIApplication, didReceiveRemoteNotification userInfo: [AnyHashable : Any]) async -> UIBackgroundFetchResult? {
        // silent notification
        return nil // or valid instance of UIBackgroundFetchResult
    }

    public func userNotificationCenter(_ center: UNUserNotificationCenter, didReceive response: UNNotificationResponse) async {
        // handle notification when user taps on it.
    }

    public func userNotificationCenter(_ center: UNUserNotificationCenter, willPresent notification: UNNotification) async -> UNNotificationPresentationOptions? {
        return nil // or valid instance of UNNotificationPresentationOptions
    }
}

private extension String {

    init(deviceToken: Data) {
        self = deviceToken.map { String(format: "%.2hhx", $0) }.joined()
    }
}
Enable Push Notification Permission Popup
Pre-requisites
- Update settings.json as shown below:
{
  "push": true,
  "modules": [
    {
      "name": "Push Notifications",
      "packageName": "Q2MobileCore",
      "className": "PushEnrollmentModule",
      "identifier": "pushNotification",
      "data": "",
      "enabled": true,
      "isPublic": false
    },
    {
      "name": "Q2Firebase (internal)",
      "packageName": "Q2Firebase",
      "productName": "Q2Firebase",
      "className": "Q2FirebaseModule",
      "data": {
        "googleAppId": "{GoogleService-Info.plist-googleAppId}",
        "gcmSenderId": "{GoogleService-Info.plist-gcmSenderId}",
        "apiKey": "{GoogleService-Info.plist-apiKey}",
        "projectId": "{GoogleService-Info.plist-projectId}"
      },
      "enabled": true,
      "isPublic": false,
      "isInternal": true
    }
  ]
}
- Go to
Q2DevAppDependencies/Package.swift - Add few characters at the end of the file like
//update - This will trigger re-download of required packages and you will see firebase and other dependencies pulled in under packages.
Trigger Push Notification Permission
- Launch Q2DevApp on Development device or on simulator if running on Apple Silicon Macs.
- Perform SignIn.
- Observe Device Setup screen with Allow Push Notifications step.
- Tap Allow Notifications.
- Grab device token logged from
didRegisterForRemoteNotificationsWithDeviceTokenmethod.
Send Notification using Apple Cloud Console
We will use Apple Push Notification option within Apple's Cloud Console to send various types of push notification on simulator if you are using Apple Silicon Macs or on actual device.
- Go to Apple Developer Cloud Kit Console (https://icloud.developer.apple.com/dashboard/)
- Select Appropriate Team.
- Select Push Notifications.
- Select Correct Bundle Identifier from left drop down. Make sure its same bundle id configured in DevApp as well as in firebase (if you are testing using firebase)
- Create new Push Notification.
- Give Name to notification.
- Keep Environment to Development.
- Enter Device Token which you copied from Xcode Console.
- Set apns-priority to HIGH.
- Hit Send.
- Observe notification delivered to device/simulator and content of notification is changed.
Rich Push Notification - Service Extension
The service extension module intercepts push payloads from apps, and gives you the chance to change content in the notification before it is presented. Read more on: https://developer.apple.com/documentation/usernotifications/modifying-content-in-newly-delivered-notifications
Implementation
Create a class inherited from UNNotificationServiceExtension and conforming to
PushServiceExtensionModule as shown below:
public class DemoNotificationServiceExtensionModule: UNNotificationServiceExtension, PushServiceExtensionModule {

    public var moduleDelegate: ModuleDelegate!
    public var moduleDataSource: ModuleDataSource!

    public static var sender: PushSender? {
        return .moduleSender
    }

    public override func didReceive(_ request: UNNotificationRequest, withContentHandler contentHandler: @escaping (UNNotificationContent) -> Void) {

        // Store the content handler for timeout scenarios
        self.contentHandler = contentHandler

        guard let content = request.content.mutableCopy() as? UNMutableNotificationContent else {
            print("Failed to create mutable notification content")
            contentHandler(request.content)
            return
        }

        // Check if this notification is intended for our module
        guard let senderID = content.userInfo["sender"] as? String,
              senderID == "com.q2.mobile.module.{your-unique-identifier}" else {
            print("Notification not intended for this module")
            contentHandler(request.content)
            return
        }

        // Parse custom payload
        guard let payload = DemoNotificationPayload.make(fromNotificationContent: content) else {
            print("Failed to parse custom payload, using original content")
            contentHandler(request.content)
            return
        }

        // Process payload and update content
        content.title = payload.title
        content.subtitle = payload.subtitle
        content.body = payload.body

        // Add custom attachment if URL is provided
        if let imageURL = payload.imageURL {
            downloadAndAttachImage(from: imageURL, to: content) { [weak self] in
                self?.contentHandler?(content)
            }
        } else {
            contentHandler(content)
        }
    }

    // Handle timeout scenarios
    public override func serviceExtensionTimeWillExpire() {
        if let contentHandler = contentHandler {
            contentHandler(request.content)
        }
    }

    // Helper method for downloading images
    private func downloadAndAttachImage(from url: URL, to content: UNMutableNotificationContent, completion: @escaping () -> Void) {
        URLSession.shared.dataTask(with: url) { data, response, error in
            defer { completion() }

            guard let data = data, error == nil else {
                print("Failed to download image: \(error?.localizedDescription ?? "Unknown error")")
                return
            }

            do {
                let tempURL = URL(fileURLWithPath: NSTemporaryDirectory())
                    .appendingPathComponent("notification-image")
                    .appendingPathExtension("jpg")

                try data.write(to: tempURL)

                let attachment = try UNNotificationAttachment(identifier: "image", url: tempURL, options: nil)
                content.attachments = [attachment]
            } catch {
                print("Failed to create attachment: \(error.localizedDescription)")
            }
        }.resume()
    }

    // Store references for timeout handling
    private var contentHandler: ((UNNotificationContent) -> Void)?
    private var request: UNNotificationRequest!
}

// MARK: - DemoNotificationPayload

extension DemoNotificationServiceExtensionModule {

    struct DemoNotificationPayload: NotificationPayloadConvertible {

        static var key: String = "demo" // use key which represents your payload.

        let title: String
        let subtitle: String
        let body: String
        let imageURL: URL?

        enum CodingKeys: String, CodingKey {
            case title, subtitle, body
            case imageURL = "image_url"
        }
    }
}

// MARK: - NotificationPayloadConvertible

protocol NotificationPayloadConvertible: Codable {

    static var key: String { get }
}

// MARK: - NotificationPayloadConvertible+UNMutableNotificationContent

extension NotificationPayloadConvertible {

    static func make(fromNotificationContent content: UNMutableNotificationContent) -> Self? {

        let userInfo = content.userInfo

        guard let userInfoDictionary = userInfo["data"] as? [String: Any] else {
            return nil
        }

        guard let payloadDictionary = userInfoDictionary[Self.key] as? [String: Any] else {
            return nil
        }

        do {
            let jsonData = try JSONSerialization.data(withJSONObject: payloadDictionary, options: [])
            return try JSONDecoder().decode(Self.self, from: jsonData)
        } catch {
            print("Error decoding JSON: \(error)")
            return nil
        }
    }
}
Update Module's pushServiceClassName
In order to inform Q2MobileCore that your module has push notification service extension implemented, update pushServiceClassName in settings.json file:
{
  "name": "q2-demo-ios",
  "packageName": "q2-demo-ios",
  "productName": "Q2Demo",
  "className": "Q2DemoModule",
  "pushServiceClassName": "DemoNotificationServiceExtensionModule",
  "pushContentClassName": "DemoNotificationContentExtensionModule",
  "identifier": "com.q2.mobile.module.demo",
  "data": "",
  "enabled": true
}
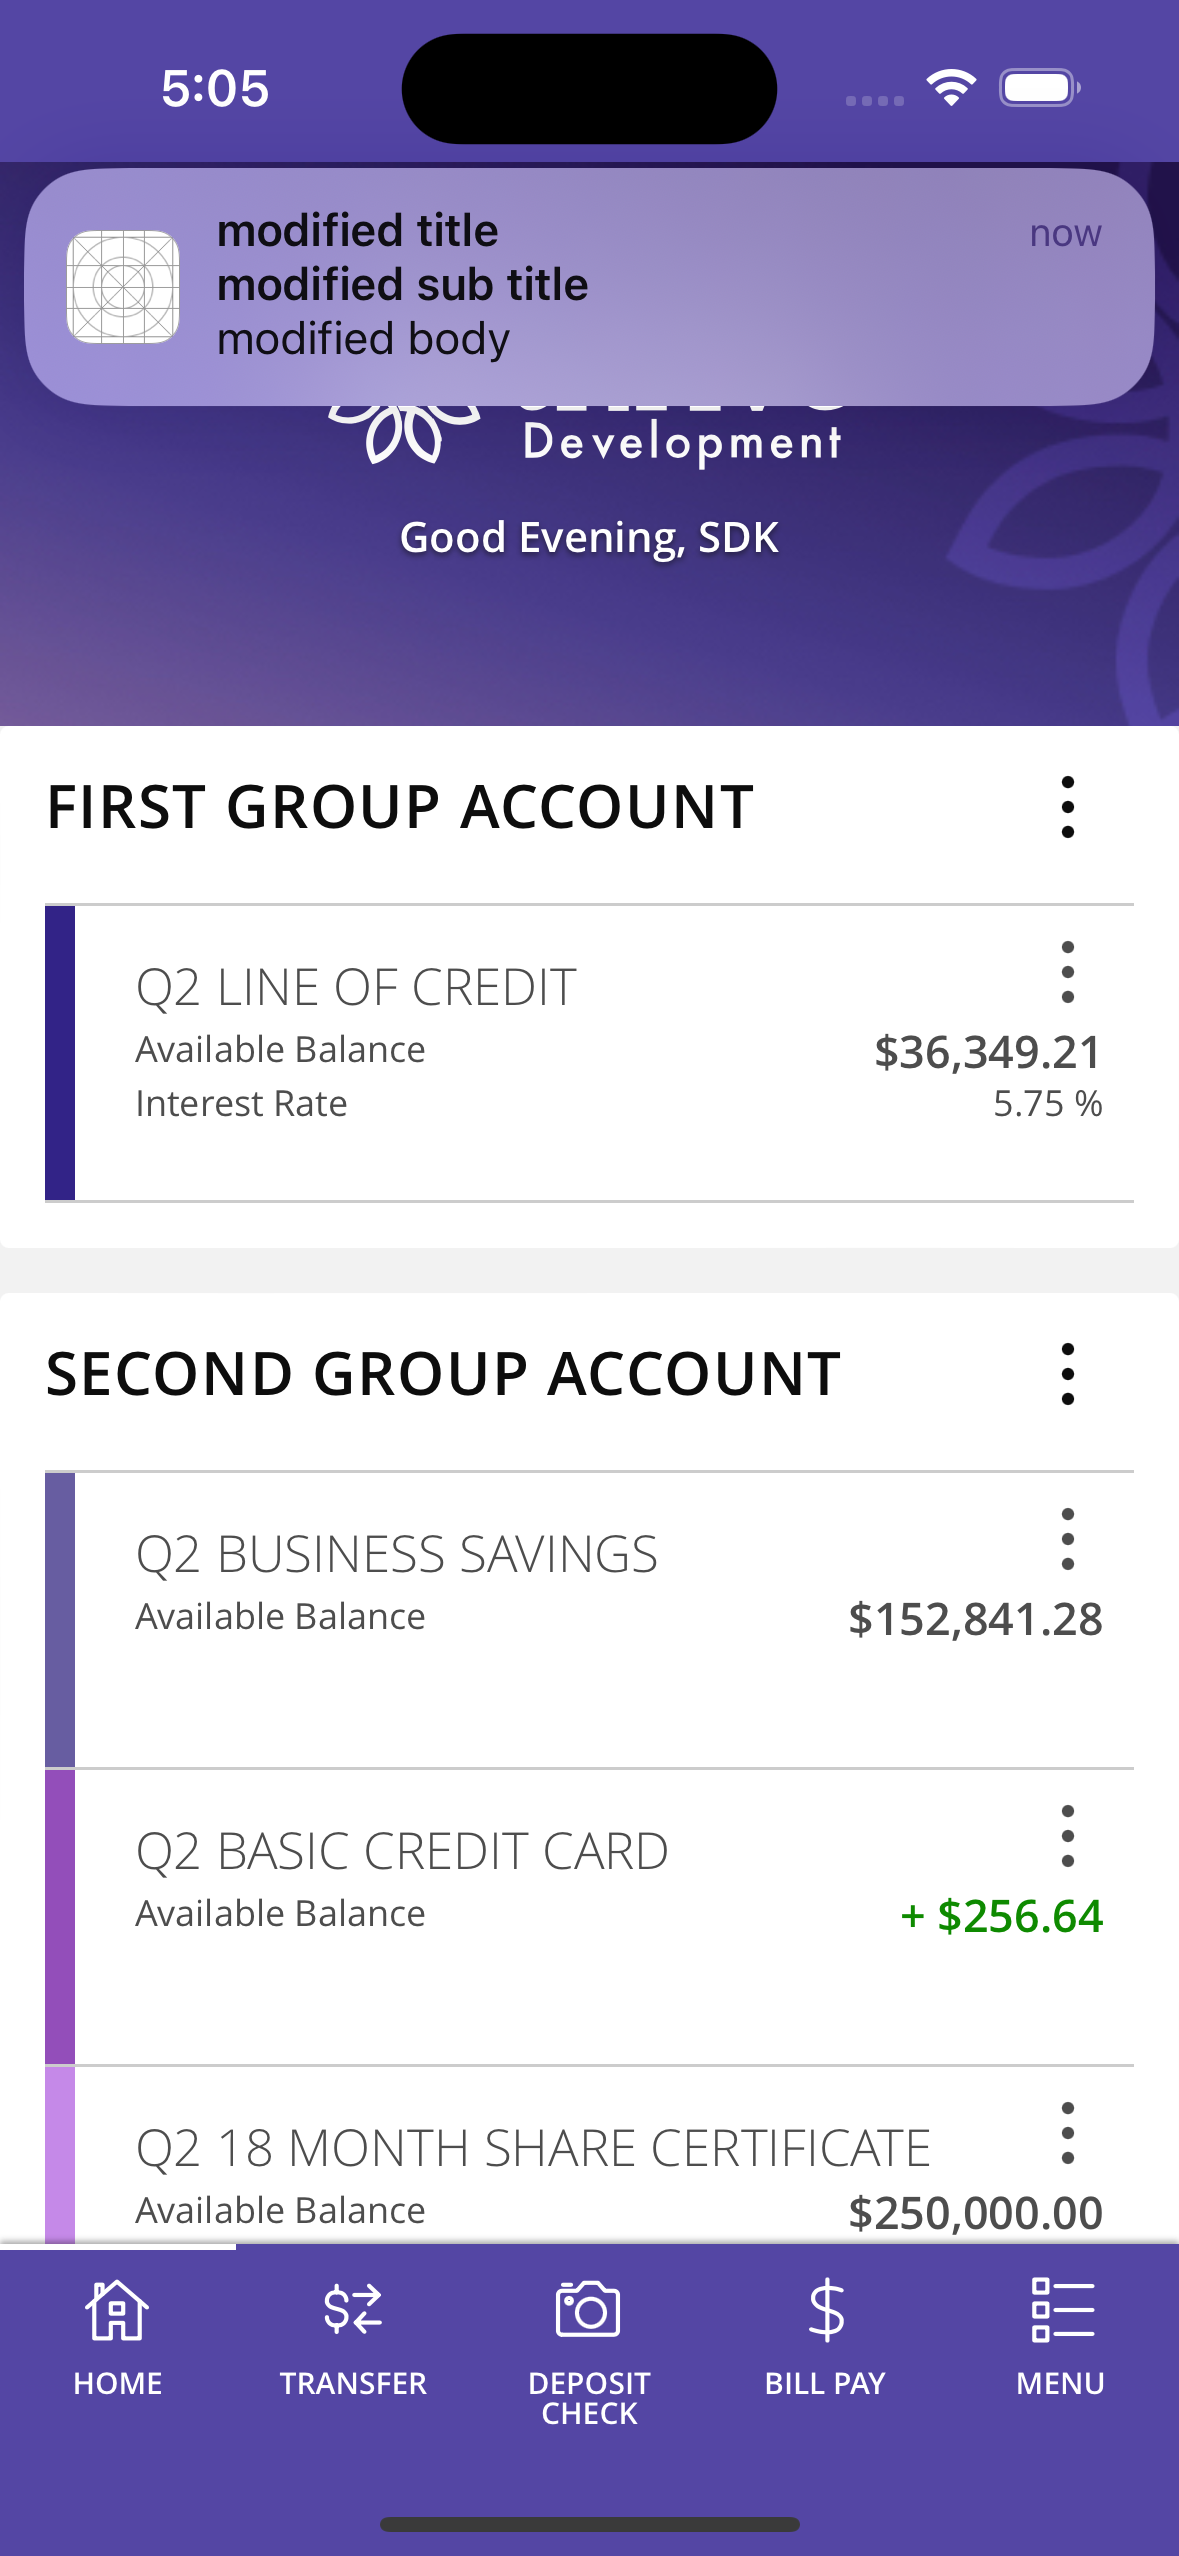
Send Notification
In addition to steps performed earlier to send simple push notification, you need to add mutable-content with number 1 next to aps node which would inform DevApp to trigger your notification service extension module. You can provide additional data node along with aps which indicates notification is catered for your module.
{
  "aps": {
    "alert": {
      "title": "title",
      "subtitle": "subtitle",
      "body": "body"
    },
    "mutable-content": 1
  },
  "sender": "com.q2.mobile.module.{your-unique-identifier}",
  "data": {
    "demo": {
      "title": "modified title",
      "subtitle": "modified sub title",
      "body": "modified body"
    }
  }
}
When you Hit send then observe notification delivered to device/simulator's content is modified by your notification service extension module.
Your screen should look as follows:
Rich Push Notification - Content Extension
The content extension gives you option similar to what you have in an app to design your notification in interface builder. Read more on: https://developer.apple.com/documentation/usernotificationsui/customizing-the-appearance-of-notifications
Implementation
Create a class inherited from UNNotificationContentExtension and conforming to PushContentExtensionModule as shown below:
import Foundation
import Q2ModuleInterfaces
import UserNotificationsUI

public class DemoNotificationContentExtensionModule: UIViewController, UNNotificationContentExtension, PushContentExtensionModule {

    public var moduleDelegate: ModuleDelegate!
    public var moduleDataSource: ModuleDataSource!

    public static var sender: PushSender? {
        return .moduleSender
    }

    // MARK: - Private Properties

    private lazy var customLabel: UILabel = {
        let label = UILabel()
        label.translatesAutoresizingMaskIntoConstraints = false
        label.textColor = .black
        label.numberOfLines = 0
        label.textAlignment = .center
        return label
    }()

    public func didReceive(_ notification: UNNotification) {
        let content = notification.request.content
        customLabel.text = content.body
    }

    public override func viewDidLoad() {
        super.viewDidLoad()
        view.backgroundColor = .white
        view.addSubview(customLabel)
        NSLayoutConstraint.activate([
            customLabel.leadingAnchor.constraint(equalTo: view.leadingAnchor, constant: 10),
            customLabel.trailingAnchor.constraint(equalTo: view.trailingAnchor, constant: -10),
            customLabel.topAnchor.constraint(equalTo: view.topAnchor, constant: 10),
            customLabel.bottomAnchor.constraint(equalTo: view.bottomAnchor, constant: -10),
        ])
    }
}
Update Module's pushContentClassName
In order to inform Q2MobileCore that your module has push notification content extension implemented, update pushContentClassName in settings.json file:
{
  "name": "q2-demo-ios",
  "packageName": "q2-demo-ios",
  "productName": "Q2Demo",
  "className": "Q2DemoModule",
  "pushServiceClassName": "DemoNotificationServiceExtensionModule",
  "pushContentClassName": "DemoNotificationContentExtensionModule",
  "identifier": "com.q2.mobile.module.demo",
  "data": "",
  "enabled": true
}
Add Push Content Category
- Go to DevApp > PushContentExtension
- Select Info.plist.
- Under NSExtensionAttributes add UNNotificationExtensionCategory.
- Add name of your category and make sure document that in your project Readme as well as notify during MSDK request.
This is a mandatory step and the same category value has to be specified when you send notification otherwise DevApp won't be able to launch your notification content extension module.
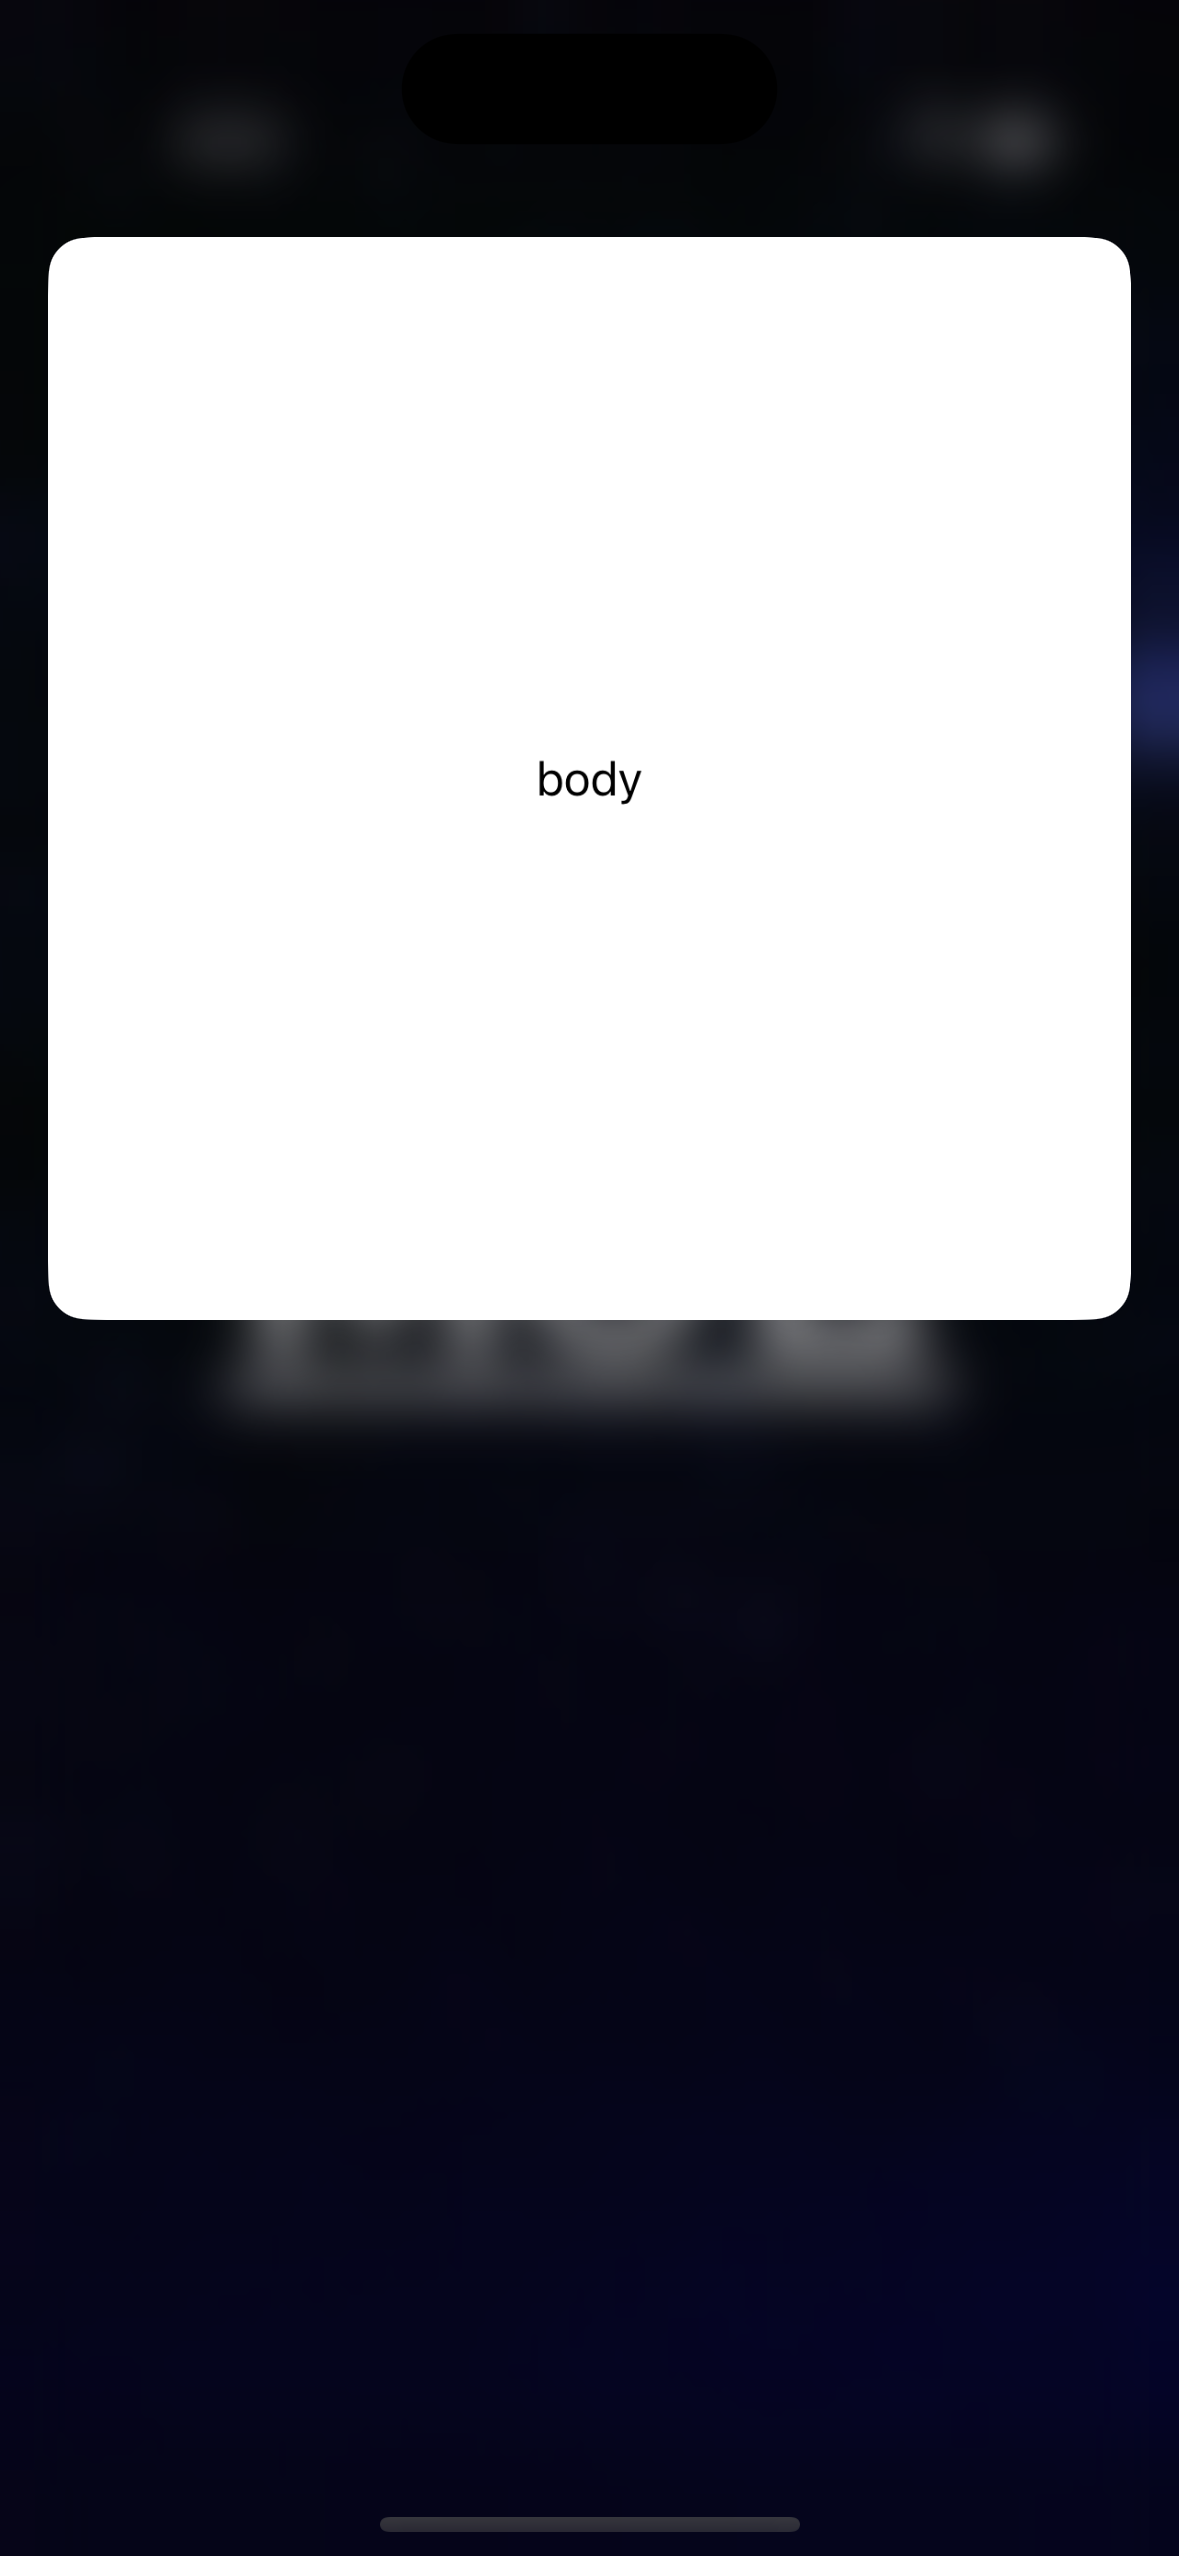
Send Notification
In addition to steps performed earlier to send simple push notification, you need to add mutable-content with number 1 next to aps node which would inform DevApp to trigger your notification service extension module:
{
  "aps": {
    "alert": {
      "title": "title",
      "subtitle": "subtitle",
      "body": "body"
    },
    "mutable-content": 1,
    "category": "Q2Demo"
  },
  "sender": "com.q2.mobile.module.{your-unique-identifier}"
}
When you Hit send then observe notification delivered to device/simulator's content. Tap and hold notification to see modified presentation of your content via your content extension module.
Your screen should look as follows:
Troubleshooting
Common Issues
Problem: Module not receiving notifications
- ✅ Verify
senderID matches exactly in payload and module - ✅ Check
settings.jsonhas"push": trueand correctclassName - ✅ Ensure module is registered and enabled in Q2MobileCore
- ✅ Verify notification payload includes
senderfield
Problem: Device token not received
- ✅ Check APS Environment in entitlements (development/production)
- ✅ Verify bundle ID matches Firebase configuration
- ✅ Ensure remote-notification in UIBackgroundModes
- ✅ Test on physical device (simulator limitations on older Macs)
Problem: Service extension not triggered
- ✅ Add
"mutable-content": 1to notification payload - ✅ Verify
pushServiceClassNamein settings.json - ✅ Check service extension target exists in Xcode project
- ✅ Ensure service extension timeout handling is implemented
Problem: Content extension not showing
- ✅ Add correct
categoryto notification payload - ✅ Configure
UNNotificationExtensionCategoryin extension's Info.plist - ✅ Verify
pushContentClassNamein settings.json - ✅ Check content extension target exists in Xcode project
Debugging Tips
Enable Console Logging:
// Add to your module implementation
private func logNotificationDetails(_ userInfo: [AnyHashable: Any]) {
    print("Notification received: \(userInfo)")
    if let sender = userInfo["sender"] as? String {
        print("Sender: \(sender)")
    }
}
Test with Apple Push Notification Console:
- Go to https://icloud.developer.apple.com/dashboard/
- Select Push Notifications
- Use your development certificate
- Test with minimal payload first, then add complexity
Verify Module Registration:
// Add to your module's initialization
print("Module registered with sender: \(Self.sender?.id ?? "nil")")
Best Practices
Security:
- Always validate notification sender before processing
- Sanitize payload data before using in UI
- Use HTTPS for any network requests in extensions
- Implement proper timeout handling in service extensions
Performance:
- Keep service extension processing under 30 seconds
- Use background tasks for long-running operations
- Implement proper error handling and fallbacks
- Cache resources when possible
Testing:
- Test on multiple iOS versions and devices
- Verify behavior with network connectivity issues
- Test notification limits and throttling
- Validate with both development and production certificates