Android - DevApp Setup
This guide covers cloning the repository, setting up authentication, and configuring your project in Android Studio.
Clone the Repository
Clone the Android DevApp repository using Git:
git clone git@code.q2developer.com:Q2Antilles/native/android/devapp-android.git
Alternatively, visit the repository and clone it via SSH or HTTPS.
Once cloned:
- Open Android Studio.
- Go to File > Open and select the cloned repository.
Generate a Personal Access Token
The first time you build the project, Gradle may fail due to a missing msdk_repo_token.
You need to generate a Personal Access Token (PAT) to authenticate.
Steps to Generate a PAT
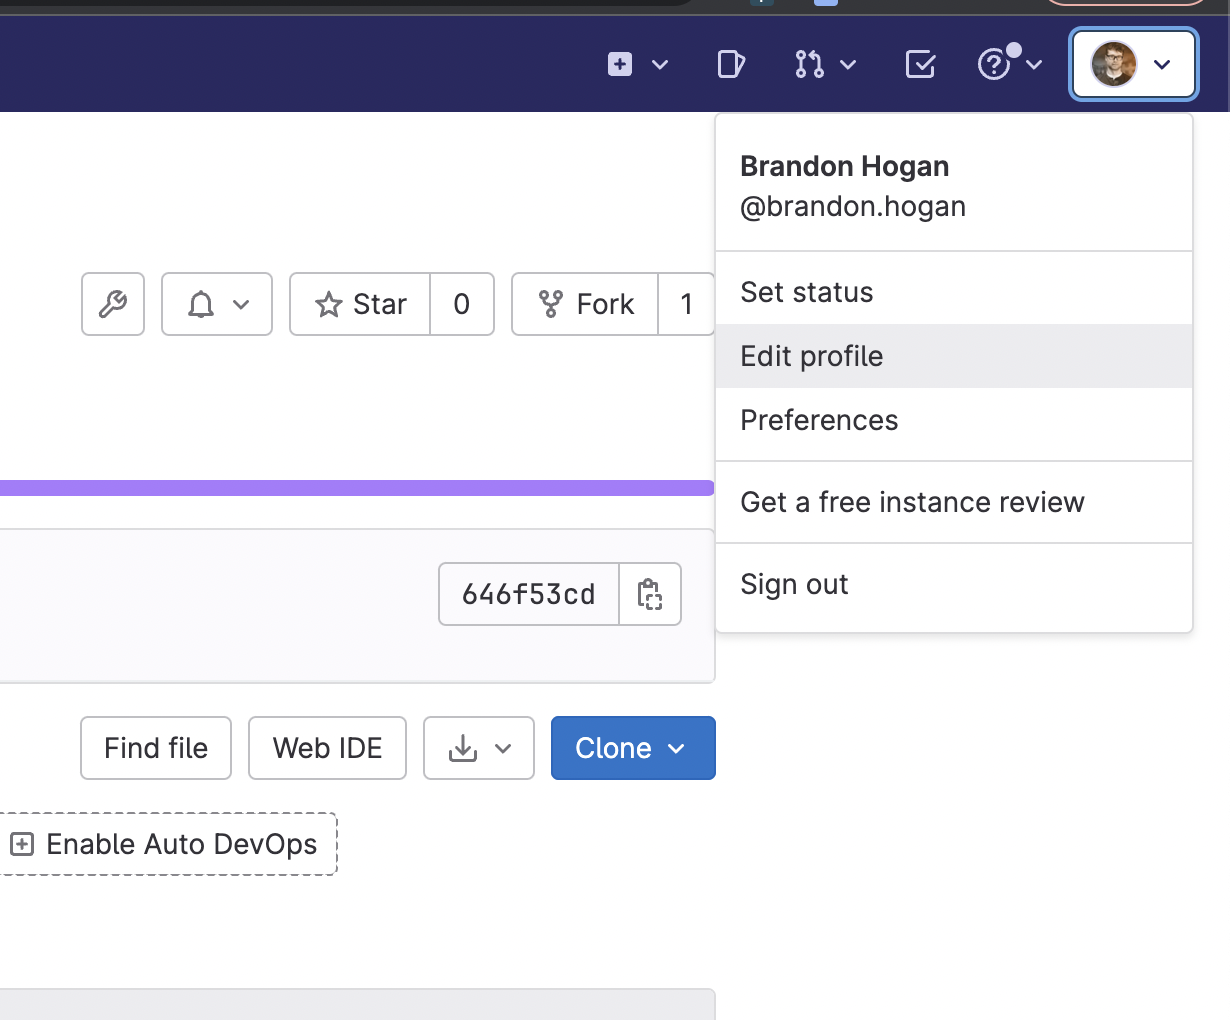
- Go to the repository.
- Click your user icon (top-right), then select Preferences.
- Under Access Tokens, click Add New Token.
- Enter a name (e.g., "Android DevApp") and enable api, read_api, read_registry, and read_repository scope.
- Click Create personal access token and copy the token (you won’t be able to see it again).
Update settings.gradle
Add the generated token to settings.gradle:
-
Open
settings.gradlein Android Studio. -
Locate the Maven repository configuration:
maven {
    url "https://code.q2developer.com/api/v4/groups/782/-/packages/maven"
    credentials(HttpHeaderCredentials) {
        name = "Private-Token"
        value = msdk_repo_token
    }
    authentication {
        header(HttpHeaderAuthentication)
    }
} -
Replace msdk_repo_token with your actual token:
Open settings.gradle and update the value field with your generated token:
maven {
    url "https://code.q2developer.com/api/v4/groups/782/-/packages/maven"
    credentials(HttpHeaderCredentials) {
        name = "Private-Token"
        value = "your_generated_token_here"
    }
    authentication {
        header(HttpHeaderAuthentication)
    }
}
Resync Gradle
After updating settings.gradle, resync the project to apply the changes:
- Click Sync Now in the notification bar.
- Or go to File > Sync Project with Gradle Files in the top menu.
If the sync completes without errors, the project is ready to run.
Run the Project
- In Android Studio, select a connected device or emulator.
- Click Run or press
Shift + F10to launch the application.
For troubleshooting, refer to the repository documentation or contact the development team.